Licensed, Bonded & Insured
Palm Beach U-21244
Broward 09-P-15607-R


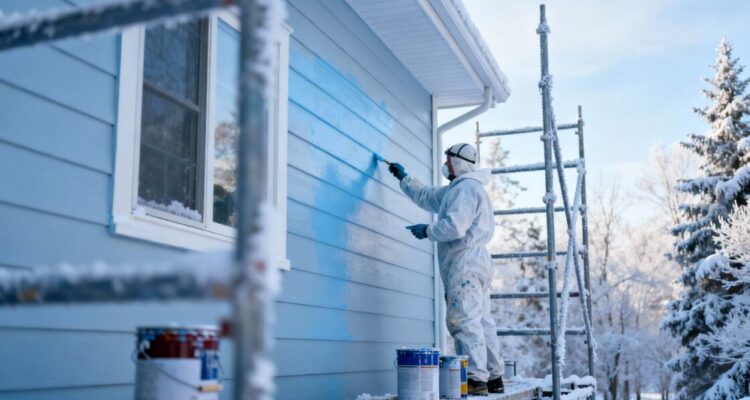
We’re thinking about tackling some exterior house painting, even though winter is coming. It might seem a bit unusual, but with the right prep, it can be done. We need to look closely at the outside of our house to see what needs doing before we start. This means checking the surfaces and making sure everything is ready for paint, especially when the weather gets colder. We’ll go through what we need to do to get the house ready for this project.
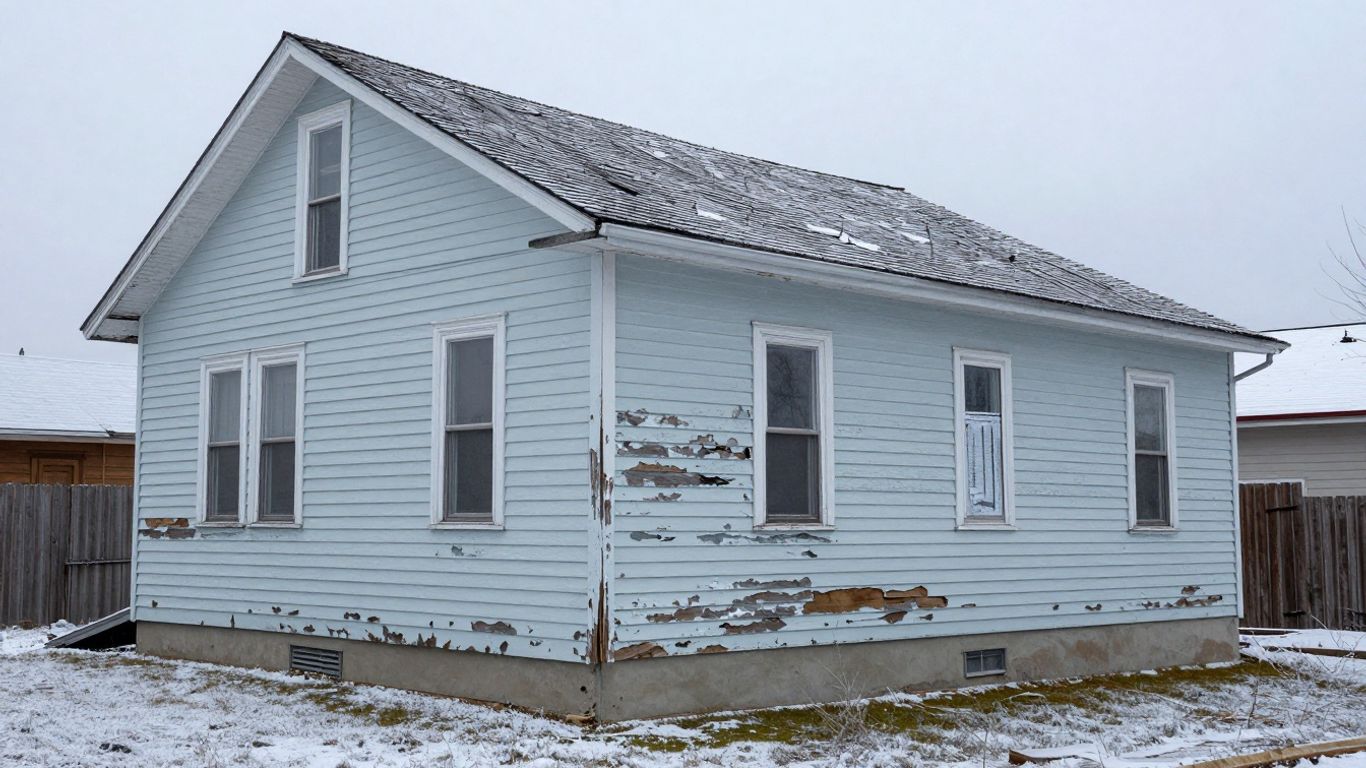
Before we even think about picking up a brush in colder weather, we need to take a good, hard look at our home’s exterior. Winter painting isn’t quite like a summer project, and the conditions outside can really impact how well the paint sticks and how long it lasts. So, let’s get down to business and figure out what we’re working with.
Our first step is to really examine the surfaces we plan to paint. We’re looking for any signs of wear and tear that might cause problems later. Think about the siding, the trim, the window frames – everything that’s going to get coated.
We want to make sure the surfaces are sound. Painting over problems just hides them for a little while and often makes them worse down the line. It’s better to fix things right the first time.
Moisture is a major concern when painting, and winter brings its own set of challenges with dampness and potential freezing. We need to be extra vigilant about any water-related problems.
We’ll need to address any mildew with a proper cleaning solution and make sure the surfaces are completely dry before applying any primer or paint. Getting rid of existing moisture is key to a lasting paint job.
Painting the outside of your home when it’s cold presents its own set of challenges. We need to be extra careful with how we get the surfaces ready. It’s not just about slapping on some paint; the prep work is where the real magic happens, especially when the temperature drops.
Before we even think about primer or paint, we’ve got to get everything clean. Winter air can be damp, and that means dirt, grime, and any lingering mildew can really stick. We usually start with a good wash. A pressure washer works well for most siding, but we have to be careful not to force water into any cracks or seams. For older homes or delicate materials, a good scrub brush and a cleaning solution might be better. We’re looking for any loose paint, peeling bits, or areas where the wood might be soft or damaged. All of that needs to be scraped away. If we find any rot, we’ll need to cut it out and patch it with a wood filler or epoxy. For siding, we check for any cracks or holes and fill them too. The goal is a smooth, solid surface for the paint to stick to.
We also need to think about what’s around the house. Even in winter, plants can be sensitive. We’ll cover any shrubs or bushes close to the house with drop cloths or tarps. We don’t want paint splatters on them, and we also want to avoid getting paint on any outdoor furniture, light fixtures, or door hardware. Sometimes, it’s easier to remove smaller items like light fixtures if we can. For anything that stays, we’ll mask it off carefully with painter’s tape. This step takes time, but it saves a lot of cleanup later and makes the final job look much more professional. We’re basically creating a clean canvas, free from anything that could interfere with the painting process or get damaged.
When painting in colder weather, the surface temperature is just as important as the air temperature. Paint needs a certain temperature range to cure properly. If it’s too cold, the paint might not adhere well, leading to peeling or cracking down the road. We always check the paint manufacturer’s recommendations for the lowest temperature they allow for application.
Here’s a quick checklist we follow:
So, we’ve gone over what it takes to get your home ready for painting when the weather’s cold. It might seem like a lot of work, and honestly, sometimes it is. But taking these steps now means your paint job will look better and last longer. We know it’s not always easy to find the time or the right conditions, but a little preparation goes a long way. Think of it as an investment in your home’s appearance and protection. When spring rolls around, and your house looks fresh and new, you’ll be glad you put in the effort. Happy painting, and stay warm out there!
Yes, we can, but we need to be smart about it. The main thing is checking the weather. We can’t paint if it’s too cold, wet, or windy. We look for days with milder temperatures, ideally above 50 degrees Fahrenheit, and when there’s no rain expected. Special paints are also available that work better in cooler conditions. Our goal is to make sure the paint sticks well and dries properly, even when it’s not summer.
First, we need to give the outside surfaces a good look. We check for any loose paint, cracks, or holes, especially on the wood parts. We also make sure everything is clean. Dirt, dust, and especially any mold or mildew need to be washed off. If we find any damaged areas, we’ll fix them before we start painting. It’s also a good idea to cover up plants, lights, or anything else near the walls that we don’t want to get paint on.
When done correctly, the paint should last just as long. The key is using the right type of paint and making sure the surfaces are perfectly prepped. We use paints designed for colder weather, and we ensure the walls are completely dry before applying any coats. Proper preparation and the right materials help the paint bond strongly to the house, giving us a finish that’s built to last, no matter the season.

Leave a Comment