Licensed, Bonded & Insured
Palm Beach U-21244
Broward 09-P-15607-R


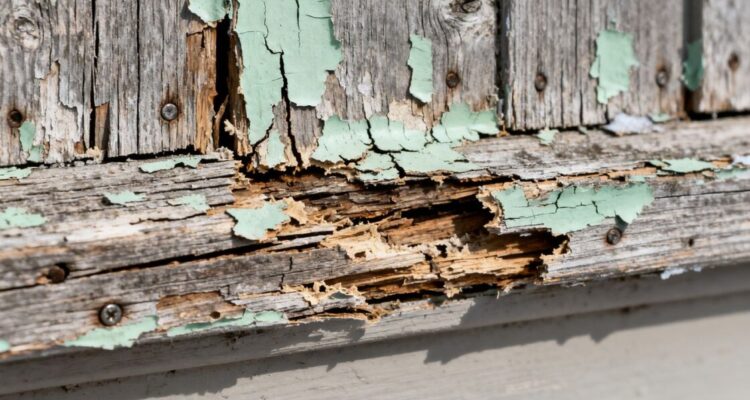
Winter’s chill can be tough on our homes, especially the wood trim around the outside. We’ve noticed that after the snow melts and the rain starts, some of our trim doesn’t look so great. This moisture can cause problems like rot and cracks. Before we think about painting, we need to check things out and get the wood ready. We’ll go over how to assess the damage, prepare the surface, and then apply new paint, keeping in mind professional exterior painting services might be the best route for some jobs.
After a long winter, we often find ourselves looking at our homes and noticing areas that need a little TLC. The exterior wood trim is particularly vulnerable to the harsh conditions of winter moisture, freeze-thaw cycles, and general wear and tear. It’s time to take a good, hard look at what the season has done to it.
One of the most common issues we see is rot and decay. This happens when moisture seeps into the wood and stays there, creating a perfect environment for fungi to break down the wood fibers. We need to be thorough in our inspection. Start by gently probing the wood with a screwdriver or awl. If the tool sinks in easily or the wood feels soft and spongy, that’s a clear sign of decay. Pay close attention to areas where trim meets other surfaces, like around windows and doors, as these are prime spots for water to collect. Any soft or crumbly wood needs to be addressed.
Winter’s temperature fluctuations can cause wood to expand and contract, leading to cracks and gaps. These aren’t just unsightly; they’re also entry points for more moisture and pests. We should carefully examine all the trim for any splits, peeling paint, or separation from the house. Even small cracks can widen over time and become bigger problems. We’ll want to note down every single one we find so we can plan our repairs.
It’s easy to overlook minor imperfections, but these small issues can snowball into major repair jobs if left unattended. A little preventative work now can save us a lot of headaches and money down the road.
After winter’s chill and dampness have had their way with our exterior wood trim, we need to get it ready for a fresh coat of paint. This isn’t just about making things look pretty; it’s about protecting the wood itself. We’ll start by giving it a good cleaning and then move on to making sure the surface is smooth and ready for primer.
First things first, we need to get rid of any dirt, grime, and especially any mildew that might have taken hold. Mildew loves damp wood, and if we paint over it, it’ll just keep growing underneath the new paint. We can use a solution of one part bleach to three parts water, or a dedicated house wash product. Just be sure to test it on a small, hidden spot first to make sure it doesn’t discolor the wood.
We want to be thorough here. Any lingering mold or algae will compromise the new paint job and can continue to damage the wood over time. A clean surface is key to a lasting finish.
Once the trim is completely dry – and we mean completely dry, give it a day or two after rinsing – it’s time to sand. This step is important for a few reasons. Sanding smooths out any rough spots, removes old, peeling paint, and gives the new primer something to grip onto. We’ll start with a medium-grit sandpaper, maybe around 80-100 grit, to knock down any high spots or loose paint. Then, we’ll follow up with a finer grit, like 150-180, to get a nice, smooth finish.
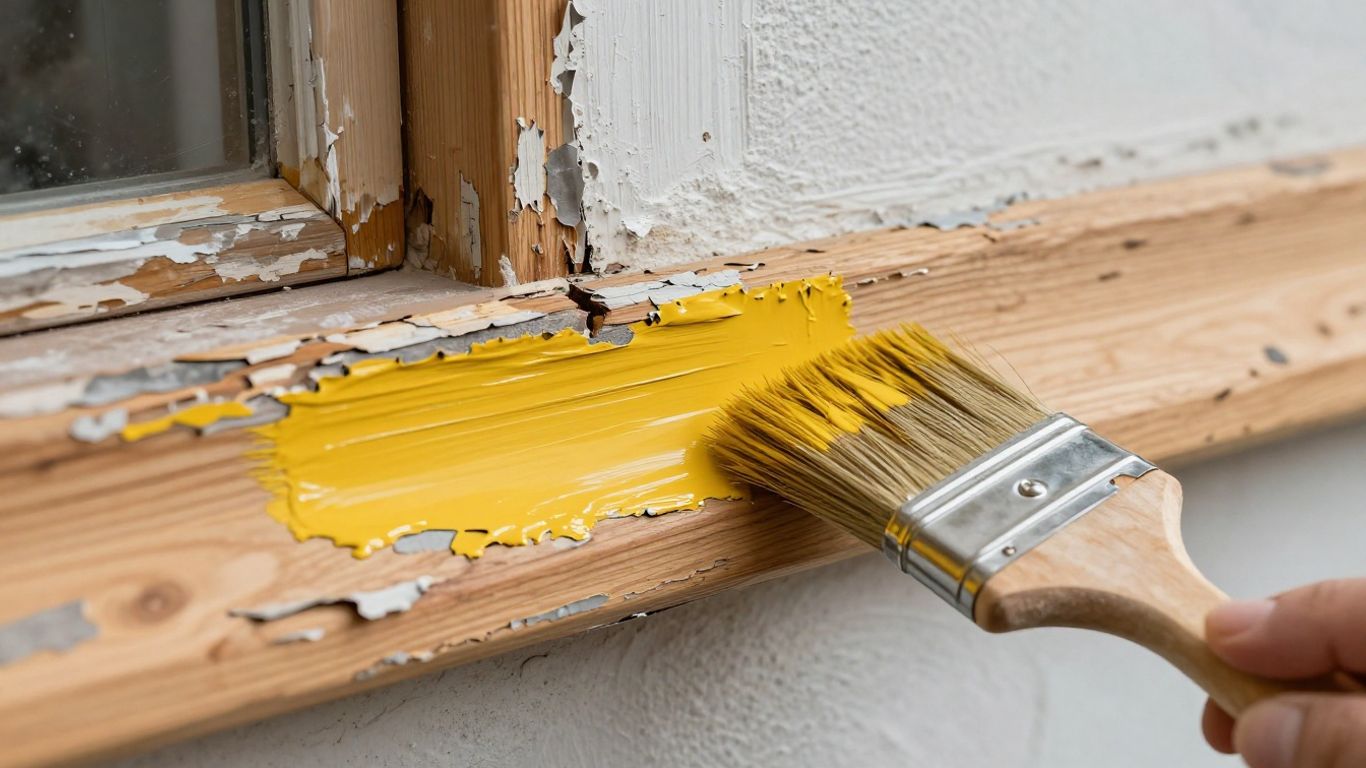
Now that we’ve assessed the damage and prepped the wood, it’s time for the fun part: painting. This step not only makes your home look great but also adds a protective layer against the elements. We want this paint job to last, so we’ll take our time and do it right.
Selecting the correct primer and paint is more important than many people realize. It’s not just about picking a color you like; it’s about the performance of the product.
We’ve found that using a paint with a satin or semi-gloss finish tends to hold up better on trim than a flat finish. It’s a bit easier to clean, too.
Getting a finish that looks good and lasts requires a bit of technique. We’re not just slapping paint on; we’re building a protective shield.
We always check the weather forecast before we start. Ideally, we want a few consecutive days with mild temperatures and low humidity. We also avoid painting in direct, hot sunlight, as this can cause the paint to dry too quickly, leading to application issues.
Here’s a quick look at what we aim for:
| Condition | Ideal Range |
|---|---|
| Temperature | 50-85°F |
| Humidity | Below 60% |
| Sunlight | Avoid direct |
| Drying Time | Per label |
So, we’ve gone through the steps to get your exterior wood trim looking good again after winter. It might seem like a lot, but taking care of these repairs and getting a fresh coat of paint on will really make a difference. Not only does it look better, but it also helps protect your home from more damage down the road. We hope this guide made the process clearer and less daunting. Give it a try, and enjoy the improved look and protection for your house.
We should look closely for any soft spots, which might mean rot is setting in. Also, check for any new cracks or openings where water could have gotten in and caused trouble.
First, we’ll want to wash away any dirt, grime, or mold that has built up. A good scrub with a cleaning solution should do the trick. Then, we’ll need to make sure the surface is smooth by sanding down any rough areas or peeling paint.
We recommend using a high-quality exterior primer that’s made for wood. It helps the paint stick better and protects the wood. For the paint, an exterior-grade acrylic or latex paint is usually a great choice because it can handle different weather conditions and lasts a long time.

Leave a Comment